Creating a DIY engagement ring can be one of the most meaningful and personalized ways to express love and commitment. With the right materials and a bit of creativity, you can design and craft your own unique ring at home that reflects both your style and your partner’s. In this guide, we’ll walk you through the entire process, from conceptualizing your design to selecting the materials and finalizing the piece.
Why Choose a DIY Engagement Ring?
DIY engagement rings offer a distinct advantage: personalization. When you create your own ring, you have the freedom to incorporate elements that are significant to you and your partner. A DIY ring can reflect shared experiences, personal styles, or even family traditions. Moreover, crafting your own engagement ring can often be more affordable than purchasing a pre-made piece, making it an attractive option for budget-conscious couples.
Essential Tools and Materials
Before you begin your DIY engagement ring project, it’s crucial to gather all necessary tools and materials. Here’s a comprehensive list to get you started:
Tools Needed:
- Jewelry pliers: For manipulating metal and stones.
- Wire cutters: Essential for trimming materials.
- Ruler or caliper: To measure dimensions accurately.
- Files and sandpaper: For smoothing edges.
- Soldering iron (if using metal): To join metal components.
- Gemstone settings: If incorporating stones.
Materials to Consider:
- Metal: Options include gold, silver, and platinum. Each has its unique qualities and price points.
- Gemstones: Diamonds, sapphires, emeralds, and moissanite are popular choices.
- Ring shank: The base of the ring can be pre-made or crafted from scratch.
Designing Your Ring
Designing a DIY engagement ring is where your creativity shines. Here’s a step-by-step approach to help you bring your vision to life:
1. Sketch Your Ideas
Begin by sketching out your ideas on paper. Consider the following aspects:
- Shape and style: Do you want a classic solitaire, a halo design, or something more unique?
- Stone type and size: Choose a gemstone that resonates with both you and your partner.
2. Use Software for 3D Modeling
If you prefer a more precise design, consider using 3D modeling software. Programs like Rhino or Tinkercad allow you to visualize your design in three dimensions.
3. Choose a Theme
Incorporating a theme can add meaning to your ring. For example, a nature-inspired ring could include floral motifs, while a vintage ring might feature intricate filigree.
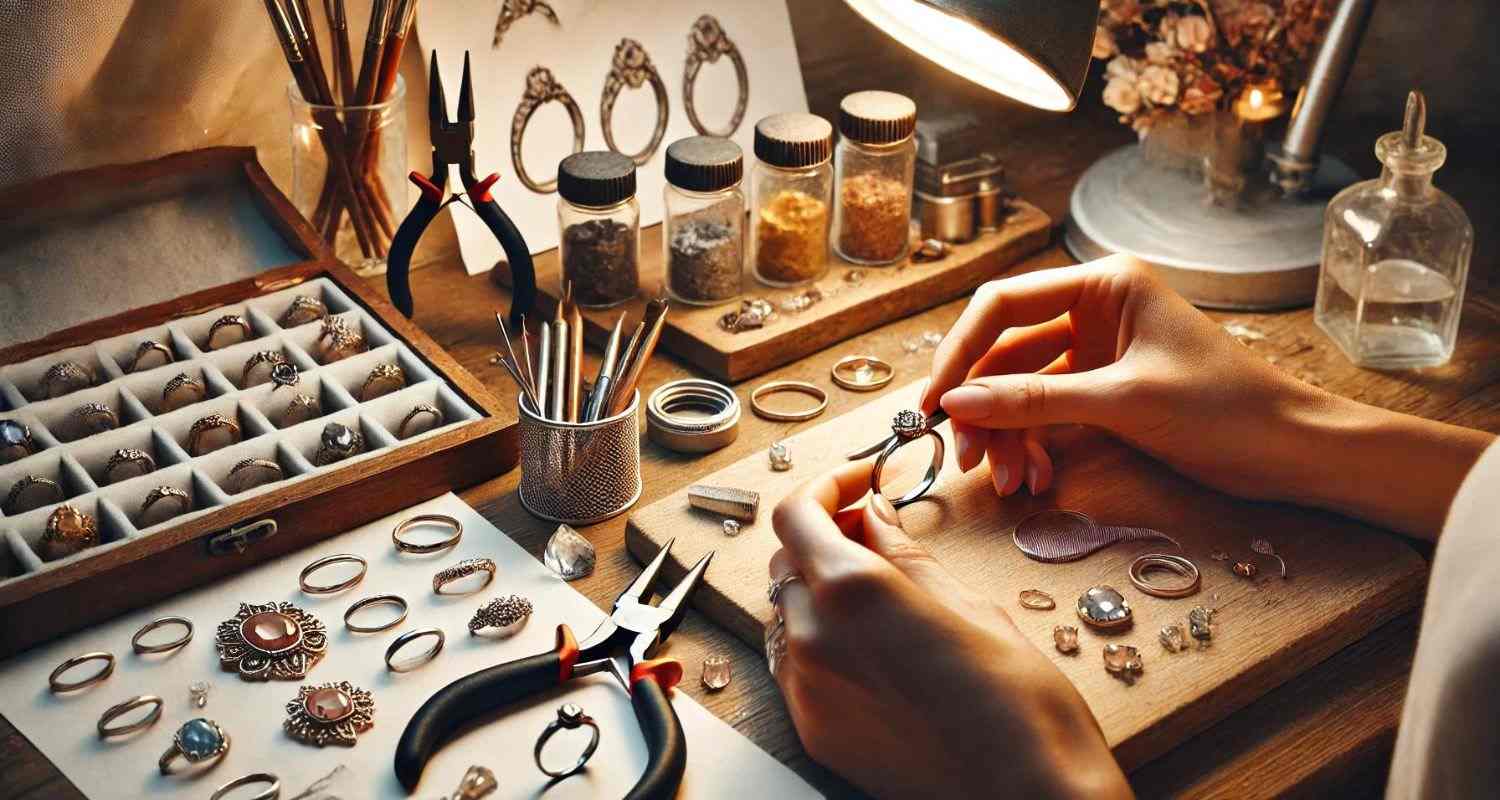
Crafting Your Ring
Once your design is complete, it’s time to start crafting your DIY engagement ring. Here’s a general process to follow:
Step 1: Create the Band
- Cut the metal: Using your ruler, measure and cut the metal to your desired length for the band.
- Shape the band: Use your hands and pliers to form the metal into a circular shape.
Step 2: Prepare the Setting
- Choose a setting style: Whether you’re using a prong, bezel, or pave setting, prepare the metal to hold your gemstone securely.
- Solder the setting: If your design includes multiple components, solder them together carefully using the soldering iron.
Step 3: Set the Stone
- Secure the stone: Place the gemstone in its setting and ensure it is firmly held in place.
- Finalize the ring: Once the stone is set, check the overall shape and make any necessary adjustments.
Tips for Success
Crafting a DIY engagement ring can be rewarding, but it also requires patience and precision. Here are some tips to ensure your success:
- Practice makes perfect: If you’re new to jewelry-making, consider practicing with cheaper materials before working with your final metal and gemstones.
- Take your time: Don’t rush the process. Carefully crafting each element will yield a better final product.
- Seek help if needed: If you encounter difficulties, don’t hesitate to seek advice from a professional jeweler.
Personalizing Your DIY Engagement Ring
One of the best aspects of creating a DIY engagement ring is the ability to personalize it. Here are some ideas to make your ring truly unique:
Engraving
Consider adding a special message or date inside the band. Engraving can make your ring even more meaningful.
Birthstones
Incorporating birthstones can add a personal touch. This can be either your birthstone, your partner’s, or even the birthstones of your future children.
Alternative Materials
If traditional metals and stones aren’t your style, explore alternative materials like wood, resin, or even recycled metals. These options can create a one-of-a-kind look that reflects your personality.
Caring for Your DIY Engagement Ring
Once you’ve crafted your perfect DIY engagement ring, it’s important to take care of it. Here are some maintenance tips:
- Regular cleaning: Clean your ring with mild soap and water, and dry it gently with a soft cloth to maintain its shine.
- Store properly: Keep your ring in a soft pouch or a separate compartment in your jewelry box to avoid scratches.
- Annual inspections: Have your ring inspected by a jeweler once a year to ensure the stone is secure and the metal is in good condition.
Conclusion
Creating a DIY engagement ring is a beautiful way to express love and commitment. With careful planning, creativity, and the right tools, you can design and craft a unique piece that reflects your relationship. Whether you choose to incorporate personal touches, explore various materials, or select a gemstone that holds special meaning, your DIY engagement ring will be a lasting symbol of your love.
By following this guide, you can embark on your DIY journey with confidence, knowing that you’re creating something truly special. Remember to take your time, enjoy the process, and let your creativity shine through. Happy crafting!